


How to make a Foraged Christmas Wreath - A Step-by-Step Guide
Is there a better way to welcome in your guests at Christmas, than with your very own Foraged Christmas Wreath adorning your front door? We think not .. well maybe it could be trumped with a glass of bubbly and a slice of yuletide log, but why not have it all!

To help you create your very own Christmas Wreath, and a foraged wreath at that – we have created this handy guide, taking you step by step through foraging for the right foliage, constructing the base (we sell this in our very own DIY Wreath Making Kit here) and adding final decorative touches.
We have also put the guide into a few formats so you can choose what works for you. You can download the DIY Wreath Making Guide PDF, watch the DIY Wreath Making Guide on video here…. OR read on to see the steps in this blog!
Of course you can use this video and buy your own material, but our kit is pretty handy.
Happy Wreath Making make sure you tag on all the socials @botaniqueworkshop to share your beautiful wreaths.
Stage 1: Foraging for your wreath
Where to forage?
You might not have to look as far as you think! Gardens, hedgerows and the roadside can provide a multitude of materials.
Or make a day of it! Canals, forests, green spaces and woodlands are all great spots to find ingredients for your wreath.
 |
 |
 |
What to be mindful of?
- Don’t hurt any roots.
- Check if the land is protected or private. It’s best to avoid these areas unless you have the land owner’s permission.
- Be mindful of how much you are taking. Only take things that there is already an abundance of. A little can go a long way, so only take what you need.
- Always check the ground first. Often, things may have already broken off the plant.
When to forage?
Start early! Think about drying flowers - hydrangeas, bracken and palak sticks are perfect for this. Collecting pine cones and twigs as you see them can help you get organised, and they will last until you are ready to make your wreath.
Tips for fresher stems:
If you’re not going to make your wreath straight away, we recommend recutting your fresh stems of foliage and putting them in water when you get home. Aim to make your wreath within 24 - 48 hours of foraging to prevent fresh foliage becoming sad.
Some things we love to use…
- Strobus pine
- Palak stick
- Wild berries
- Hemlock
- Bracken
- Old man's beard
- Alder mini cones
- Spruce
- Hydrangea

Florists’ Tip - Add some dry oranges or citrus fruits
For a festive wreath, we love using dried oranges and other citrus! It’s a good idea to have your oranges drying in the oven whilst you are making your wreath.
How to dry oranges and citrus fruits for your wreath?
- Start off by slicing your oranges into thin pieces, and place on a lined baking tray.
- Bake at 140°C for 45 minutes and flip them halfway through.
- Leave to cool and Voila!
 |
 |
Stage 2: The moss base
1. Let’s start by laying out your kit (Our DIY Wreath Making Kit) components:
- Wreath ring
- Reel & stub wire
- Ribbons
- Moss
- Extra, not in our kit: a pair of secateurs. We recommend our faves, the Niwaki Sentai Secateurs, which you can buy on our website.

2. You’ll need to condition your foliage.
- Do this by gently picking off the lower 1/3 of leaves from the stem so that the lower stem is bare. This makes the wreath neater and the stems easier to arrange. If your moss has dried out, you can re-soak it in a bowl of water.
- Start by taking your reel wire and twisting the end around the copper base to attach it. Do not cut the reel wire - this will stay attached until you have finished making your wreath.
- Add clumps of moss onto your frame, one clump at a time.
- Hold the moss down on top of the frame with one hand whilst wrapping the reel wire tightly around the frame and moss with the other hand.
- Continue adding moss clumps the entire way around your frame, securing it tightly as you go. Be generous with the moss, as this provides a base for your foliage and the dampness helps to keep the stems fresh.
- When you finish, keep the reel wire attached. You’ll need it for attaching the foliage next.
 |
 |
 |
 |
Stage 3: Greening up the base
- Take the reel of wire (which is still attached to the frame) and add your first piece of foraged material onto the moss base using the wire.
- Place your foliage laying down on the frame at an angle with the stems pointing outwards at about 45° from the base. The bare stems will rest against the moss.
- Pick your second piece of foliage and fix onto the moss base slightly below the first piece.
- Use one hand to hold the greenery onto the moss base, and the other to wrap the wire tightly over the top of the bare stems and around the frame. Make sure you wrap the wire tightly.
- Gradually work your way around the wreath until you’ve filled the whole ring.
- Once you are happy with your wreath you can cut the reel wire leaving about 10 cm trailing.
- Tuck the trailing wire around the wreath ring to secure.
- Cut roughly 40 cm length of reel wire from your coil and bend in half.
- Gently turn your wreath over.
- Thread the wire through the top of your wreath ring.
- Feed the reel wire back using a cow hitch to secure it. This will create a hanging loop fixture for your wreath. Our video clearly shows these last few steps.
- Trust the process and continue.
- Carry on adding more foliage, making sure to cover the moss on the inner and outer sides of the wreath ring. Your wire should securely hold the foliage in place on top of the mossed frame.
- Stop every now and then to hold your wreath up against a blank surface and see how it's looking - check and consider the shape that's forming and the density. This is your chance to use your artistic licence and create a completely unique wreath. As you look at it, a clear top and bottom will emerge.
Florists’ Tips
- One of the main benefits of foraging is to source unique materials.
- Not all stems will be classically straight or full - celebrate this in your wreath!
- Showcase the wiggly stems and experiment with asymmetric shapes.
- We recommend attaching each stem one by one, building up texture and shape, and working with nature instead of against it.
Stage 4: Decorating
Collect all your items for decoration, orange slices, pine cones, berries or other items. Consider where they will go on your wreath.
- If you made dried orange slices
- stack them in twos or threes, pierce the stub wire through them and twist to secure.
- Push the wire through the front of the wreath at the desired position.
- Twist the wires at the back to fix it in place.
- Then bend the ends of the wire back into the wreath base.
- If using pine cones,
- wrap the stub wire around the cone itself,
- then feed the wire through the wreath in the same way as the orange slices.
- Let’s move on to the final finishing touch - the ribbon!
- Twist a stub wire onto the ribbon and repeat the method of piercing through the wreath.
- Twist the wire at the back to attach in place.
- You can either leave it trailing or tie it into a bow.

Step 5: Show off your Christmas Wreath with pride!
All that's left is to hang up your wreath on a wall as a feature piece... or proudly on your front door - and for you to proudly enjoy with a glass of festive cheer!
 |
 |
To keep your wreath fresh, we recommend wetting the moss once or twice a week.
If you are planning on letting your wreath dry, we recommend not storing it in a damp place.
We would love to see your finished wreath!
Tag us in your Instagram photos: @botaniqueworkshop
Read more
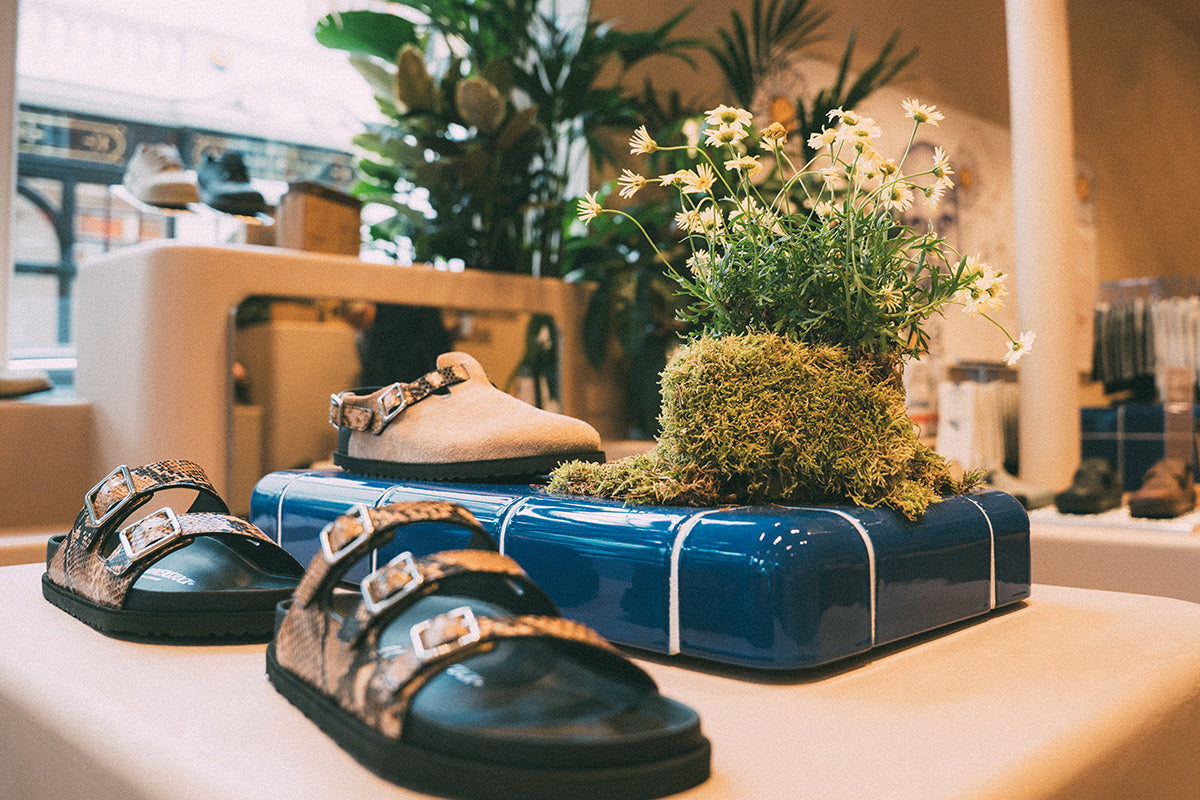
The story behind our Birkenstock floral installation at Chelsea in Bloom Flower Week
The Botanique Workshop team were thrilled to partner with Birkenstock to bring their Kings Road store to life during the iconic ‘Chelsea in Bloom’. From moodboards to midnight installs, our head fl...
Read more
New In: ‘Florist’s Pick’ Flower Bouquets
Because someone special and unique deserves something special and uniqueKeeping in line with our whimsical ethos, we introduce to you our 'Florists Pick' collection of bouquets. A collection that w...
Read more